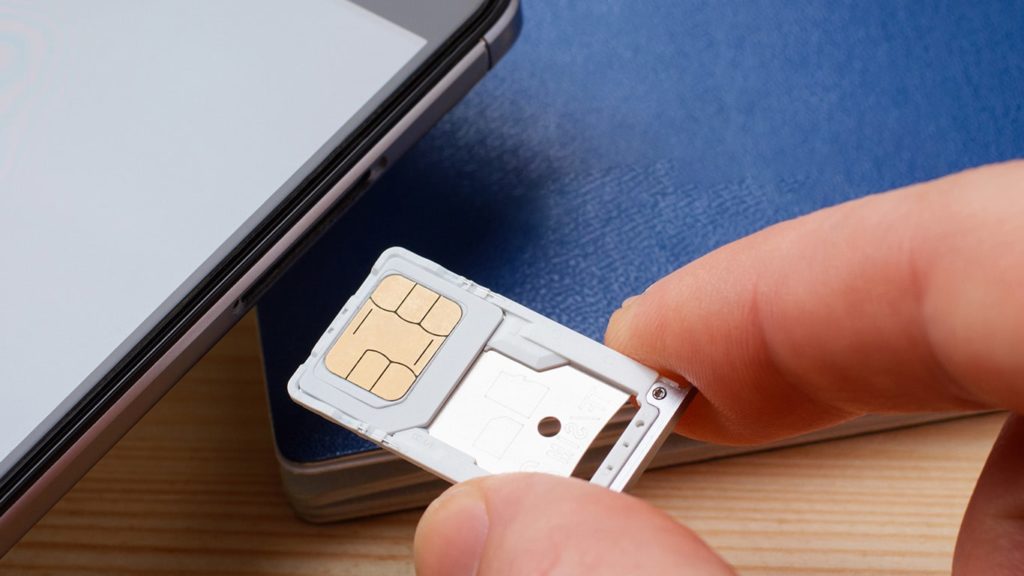
Curious about the process of taking the SIM card out? No wonder, especially if you decided to sell the phone, put the SIM card in another phone, or swap SIM cards and potentially switch carriers. The process is much easier than inserting a SIM card since you don’t have to worry about SIM card sizes. If you decide to change a SIM card, simply pick the one whose size is identical, and you’re done. The only exception is an embedded-SIM card since, as the name suggests, it cannot be removed. With that out of the way, let’s help you figure out how to remove a SIM card.
Instructions to remove a SIM card
Older Android phones
Android is open-source and there are far too many manufacturers and models on the market, so we can’t give you a specific guide. However, they have something similar – if they were released in the mid-2000s and early 2010s, they either use a mini-SIM card or a micro-SIM card. Regardless of the size, they have the same things stored on them. The process of removing is also nearly identical.
- Put the phone face down on a sturdy surface.
Make sure the screen doesn’t get scratched. Consider putting down a towel or a rag. - Unlatch the tiny plastic clips holding the phone’s back panel.
Look for a designated spot that allows you to put your fingernail in, typically in a corner. Alternatives include anything slim but sturdy, such as a plastic knife. Never use anything made of metal, as it can come in contact with the electronics and cause a short circuit. - You’ll hear clicking sounds as they unlatch.
Don’t use too much force, and go one section at a time. - With the back cover off, check if the SIM card slot is visible.
There will be a tiny image of a SIM card next to it. There can also be two slots next to each other. - If you can see the SIM card, put the tip of your finger on it, and try to drag it out of the slot.
- If it’s impossible, or if the SIM card slot isn’t visible, you must remove the battery.
- Look for an indentation that allows you to put your fingernail and scoop out the battery.
- Look for a SIM card inside the slot now.
Once again, there might be two slots, and there will be a tiny picture of a SIM card next to it. - Slowly drag the SIM card out using the tip of your finger.
- Return the battery to its place.
Match the three golden contacts on the top or the bottom of the battery to the contacts on the phone. - Return the back panel on.
- Go section by section, pressing down gently to latch the clips again.
Newer Android phones
Newer Android phones (think flagships from 2015) and low-end and mid-tier from 2016 or 2017, made a significant change. Some did it as a way to copy removing a SIM card on iPhone, using a tray. Others introduced waterproofing or splash-resistant features, and thus had to forbid users from opening the phone themselves. This is how to do it.
- Look for a tiny dot on either of the sides of the phone.
There will be a thin rectangular or elliptical shape, about 1.5 cm long, which is the SIM card tray. - Find the package your phone came in, and take out the SIM card removal tool.
- Push the pointy end of the tool into the hole, and press lightly.
- The tray should pop out about a millimeter, enough for you to slide a slim piece of plastic or your fingernail.
- Slowly pull the tray out.
- You’ll see one or two SIM cards inside, most likely a nano-SIM card.
- Turn the tray upside down so that the SIM card falls out.
If there was an SD card in the tray next to it, return it to its place. - Push the tray back in, and make sure it’s locked in place.